6.2. Importing Data to a Spreadsheet
In this section we will go over how to import data into the Spreadsheet Toolkit.
Import Data From A Pipeline
The first way to import data into the Spreadsheet toolkit is by running a pipeline. The following steps will detail how to import your data from a pipeline.
Load or create your pipeline. See the Creating a Pipeline section in User Interface Overview for more detailed instructions.
Open the Preferences dialog (click the eyeball icon at the bottom of the Pipeline View, or go to Tools ▸ Preferences), select the Results tab, and make sure Spreadsheet is checked under Send pipeline results to:.
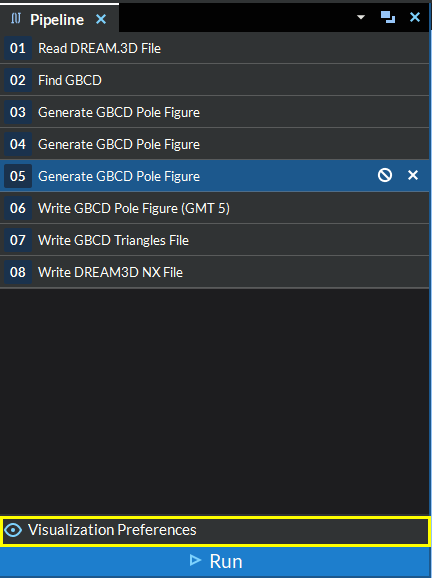
Figure 6.2 The Preferences eyeball icon at the bottom of the Pipeline View
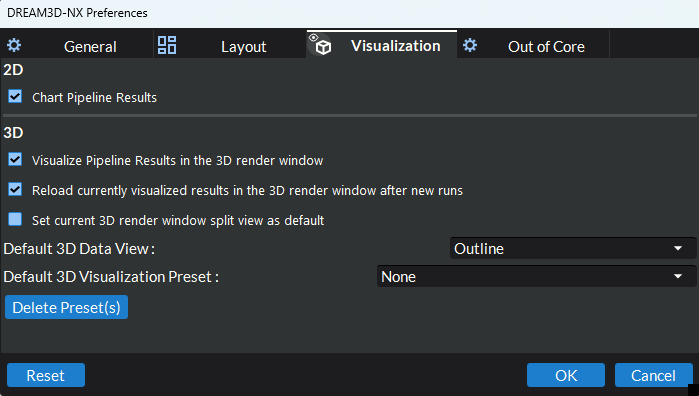
Figure 6.3 The Results tab — enable “Spreadsheet” under “Send pipeline results to:”
While the preferences dialog is still open, go to the General tab and find the Temp DREAM3D-NX Files Directory option. This option will inform the Spreadsheet Toolkit how to import the data structure. If this option is enabled, the Spreadsheet Toolkit will import the data by reading it in from the data structure saved to this temp file. If this option is disabled, DREAM3D-NX will try to keep the pipeline’s data structure in memory for accessing the data arrays.
Click the Run button at the bottom of the Pipeline view to run the pipeline.
Select the Spreadsheet tab if it is not already active. In the DREAM3D-NX window containing the pipeline you just ran, make sure the Spreadsheet tab is active.
Once your pipeline has completed, you will find the final data structure of the executed pipeline loaded into the Data Structure tree view along the right hand side of the Spreadsheet tab. If the Spreadsheet toolkit already had a data structure imported, it will reset the data structure view and attempt to reload the Spreadsheet data.
Memory Usage Notes:
Keep in mind that if you have out-of-core data, you must use the temp DREAM3D-NX file option (located in the General tab of the preferences dialog) in order to use the Spreadsheet Toolkit
If you have turned off the temp DREAM3D-NX file option (located in the General tab of the preferences dialog) AND have not included a Write DREAM3D NX File filter at the end of your pipeline then the application while keep your entire pipeline’s data structure in memory when importing the data in to the Spreadsheets Toolkit. Be careful about the size of your data and memory usage when running in this configuration. Please see the table below to check for the memory usage repercussions of the various configurations.
Temp DREAM3D File
Write DREAM3D-NX File Filter
Notes
YES
NO
Data is read in on the fly from the temp file
NO
YES
Data is read in on the fly from the .dream3d file written in the Write DREAM3D-NX File Filter
YES
YES
Data is read in on the fly from the .dream3d file written in the Write DREAM3D-NX File Filter
NO
NO
The entire Data Structure is KEPT IN MEMORY. Cannot be used with out of core data.
Import Data From A File
The second way to import data into the Spreadsheet toolkit is by dragging and dropping a .dream3d file into the spreadsheet view. To do this simply make sure the spreadsheet tab is active and then drag and drop the file from your system into the spreadsheet area. The data structure from your file will now be available on the right hand side for selecting data to add to your spreadsheet(s).
Clearing the Data Structure
If you no longer need the imported data — for example, if a large data structure was sent to the module by mistake — you can remove it to reclaim memory without closing the pipeline window. Right-click on the Data Structure tree view, on the button strip above it, or on the spreadsheet area and choose Clear Data Structure. The tables are emptied (the tab layout is preserved) and the module’s copy of the data structure is released from memory. The action is disabled when the module has no data.
By default a confirmation dialog is shown before clearing. This can be turned off from the dialog’s Don’t ask me again checkbox or via the Confirm before clearing spreadsheet/chart data option in the Results tab of the preferences dialog (see Application Preferences). To bring the data back you will need to re-run the pipeline or re-import the file.