7.2. Running a Workflow
The following section will step you through how to load and run a Workflow.
Load your Workflow file: Open the File tab on the Menu Bar at the top of the window and click on the Open Workflow option.
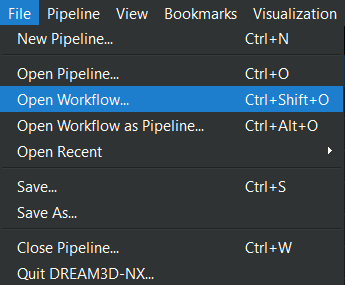
Figure 7.7 Open Workflow File Menu
Once the file has been loaded the DREAM3D-NX window will look similar to that of the Pipeline view except that the Filter Parameters tab will be missing. Instead, there will be the Workflow Parameters tab (item 1 in the image below) where all the Workflow Parameters that are available for editing will be listed out. The user will also be able to see all the filters in the Workflow’s pipeline from the Pipeline view (item 2 in the image below). Clicking on each of these filters will allow the user to view what the underlying Data Structure looks like at that point in the pipeline from the Data Structure view (item 3 in the image below)
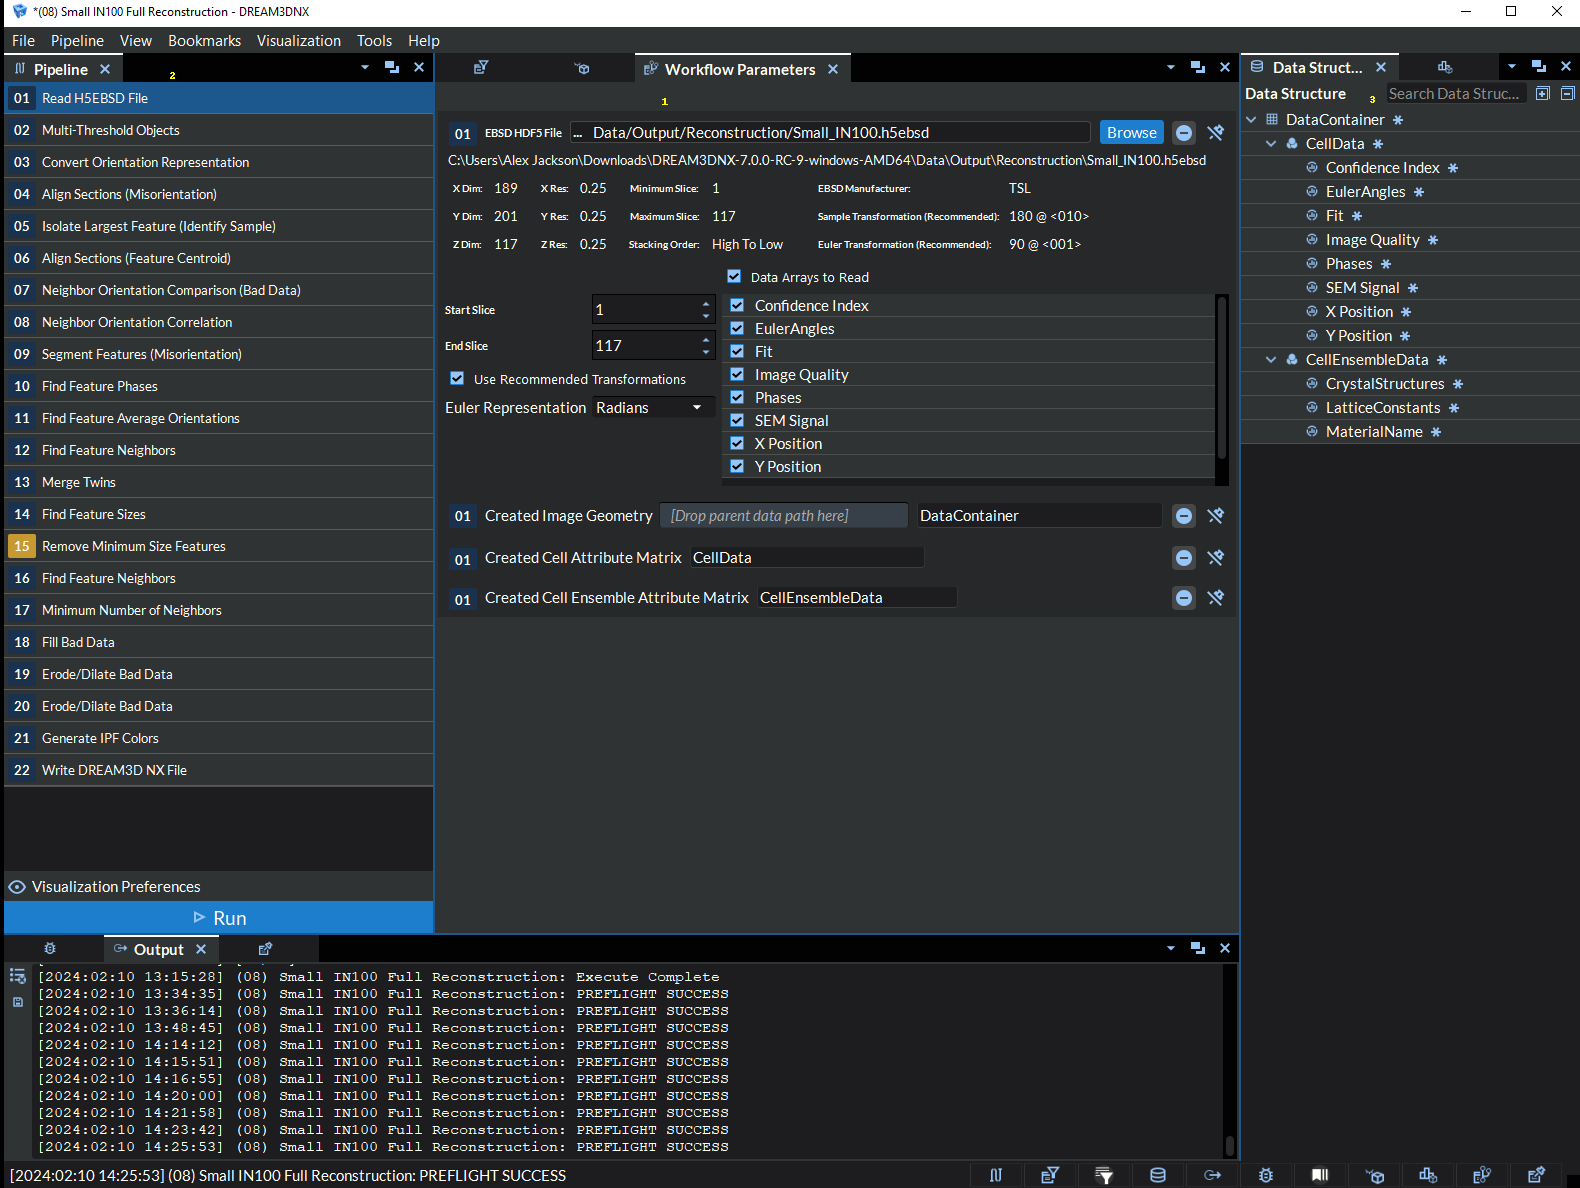
Figure 7.8 Workflow Mode
Edit your Workflow Parameters. From the Workflow Parameters tab, the user can look through all the Workflow Parameters and make edits as needed.
Run the Workflow. Once you are satisfied with the parameters’ values, click the Run button at the bottom of the Pipeline view to run the Workflow.
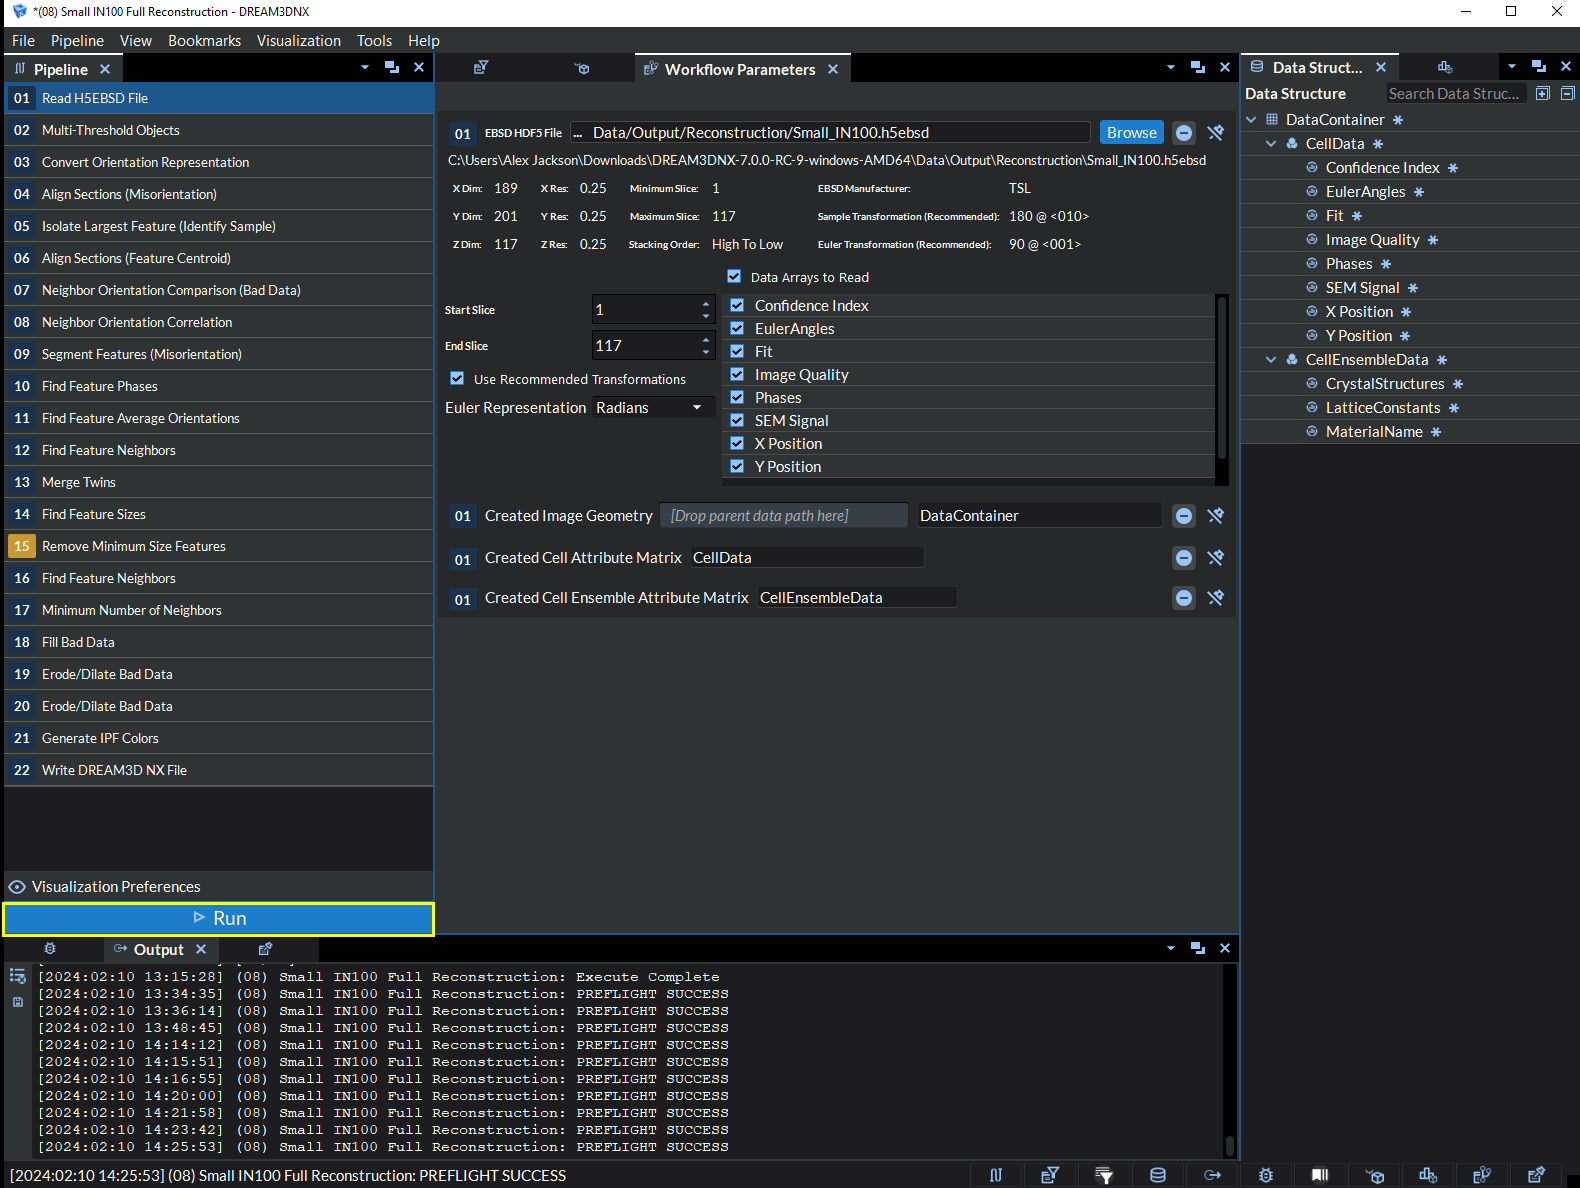
Figure 7.9 Run Workflow
After viewing the results, one can return to step 3 and repeat the process as many times as necessary. Remember that any output files written by filters in the Workflow pipeline will be overwritten if you do not move or rename them. See section 4 of this documentation on Visualization for more information on viewing results using DREAM3D-NX’s visualization tools .