12.3. Obtaining And Activating A License
The following sections will step through how to obtain and activate each of the 3 types of licenses for using DREAM3D-NX.
Starting a Free Trial
To start a free trial, first obtain the latest version of DREAM3D-NX by visiting this page.
Once you’ve installed the software, when you launch it for the first time you should be presented with this dialog box.
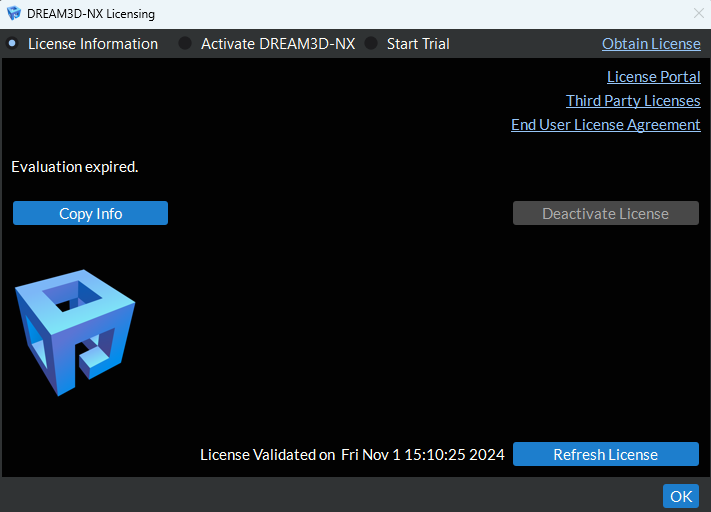
Figure 12.1 License Dialog on First Launch
Click the “Start Trial” radio button to pull up the following page in the license dialog.
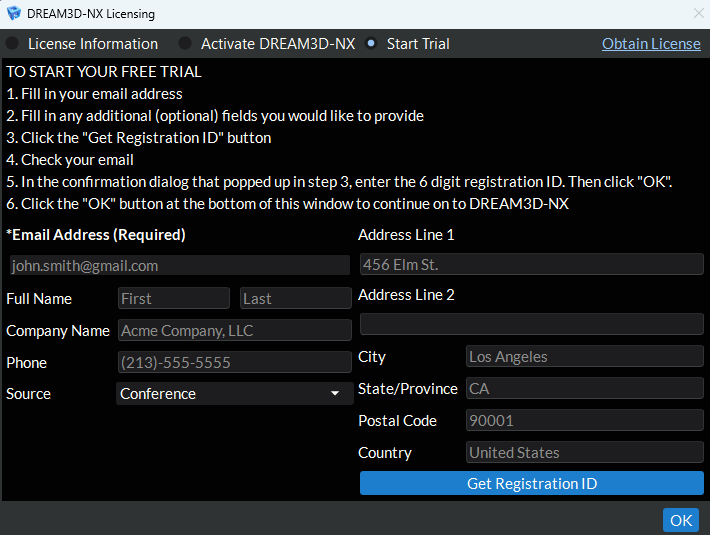
Figure 12.2 License Dialog Free Trial Page
On the Start Trial page, enter your email address and any other optional information in the provided fields and press the “Get Registration ID” button.
This should pull up the following dialog asking for your registration ID. Check your email for the email address you provided and find and email with the subject line “DREAM3D-NX Free Trial Activation”. In this email, there should be a 6 digit code labeled registration ID. Enter this code into the dialog below and press “OK”.
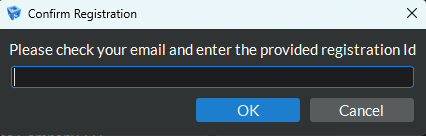
Figure 12.3 Confirm Trial Registration Dialog
This should take you back to the License Information page which should look something like this. Press the “OK” button in the bottom right of the dialog to startup DREAM3D-NX.
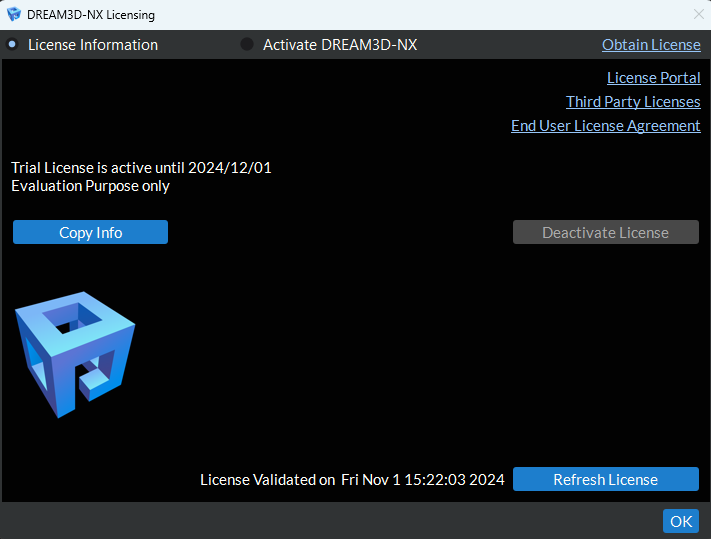
Figure 12.4 License Information Free Trial Activated
Obtain and Activate a Student License
In order to get the free (no cost) student license you will need to “purchase” it from the BlueQuartz store front. Click on the DREAM3D-NX product from the store front.
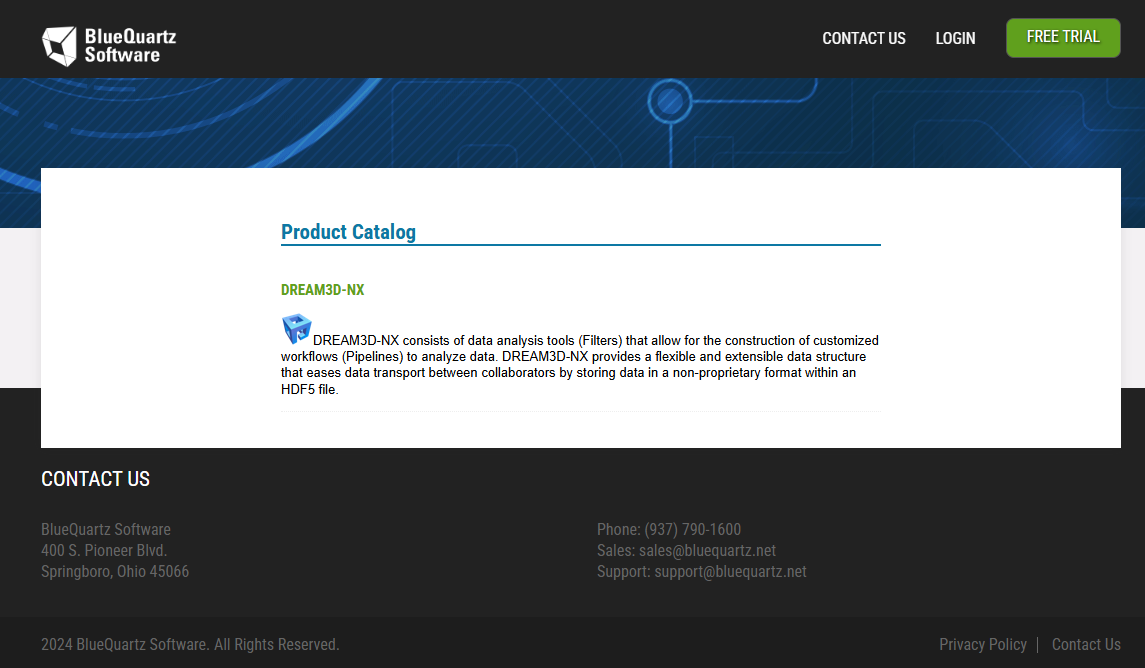
Figure 12.5 BlueQuartz Store Front
From here click on the “Student License” option.
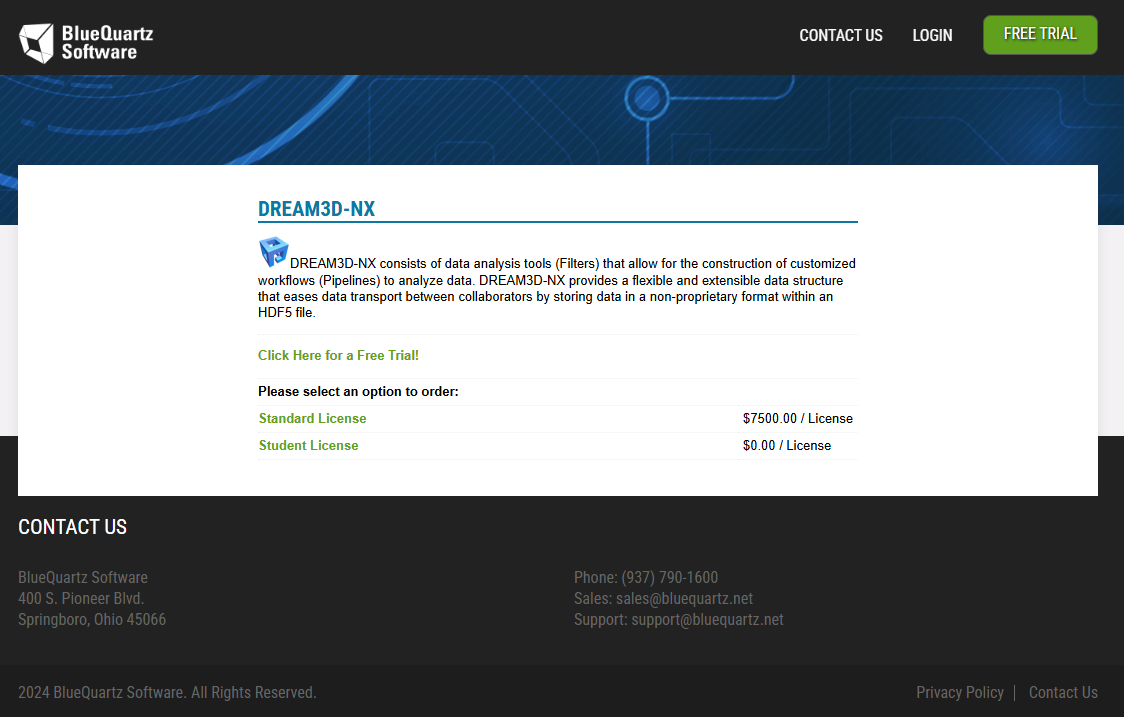
Figure 12.6 BlueQuartz Store Front DREAM3D-NX
On the next page, click the “Order Now!” button.
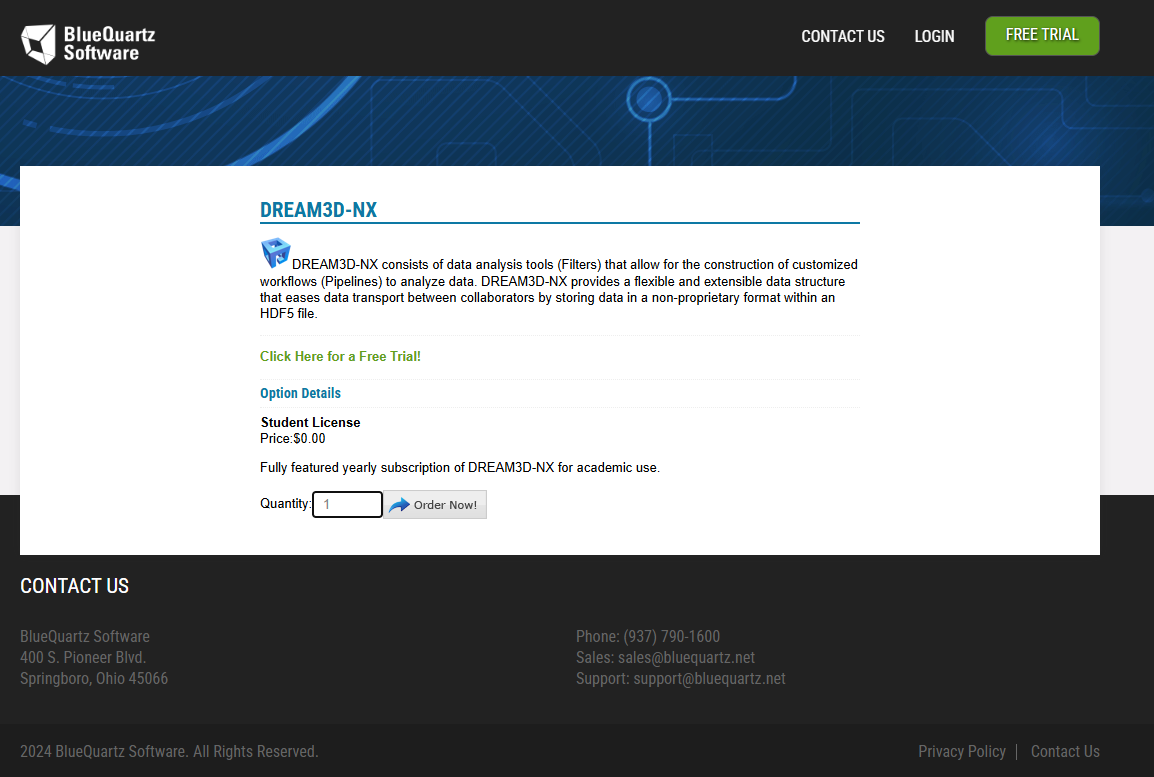
Figure 12.7 BlueQuartz Store Front Student License
On the next page, read the EULA and check the box and the bottom to agree to the EULA. Click the “I Agree” button.
On the next page, press the “Checkout” button.

Figure 12.8 BlueQuartz Store Front Student License Shopping Cart
On the next page, fill in your email address (required) (and password if you are a returning customer) and click “Continue” or “Log in”.
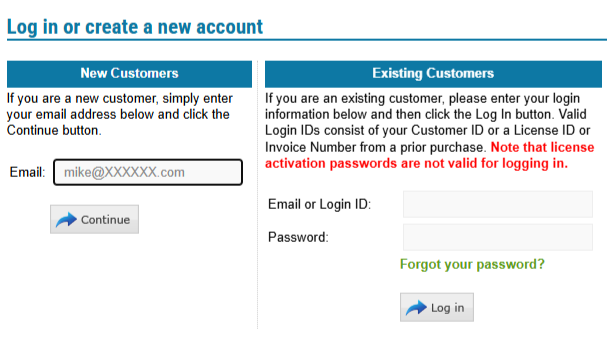
Figure 12.9 BlueQuartz Store Front Shopping Cart Log in
On the next page, fill out the required fields (in red) and click “Continue”.
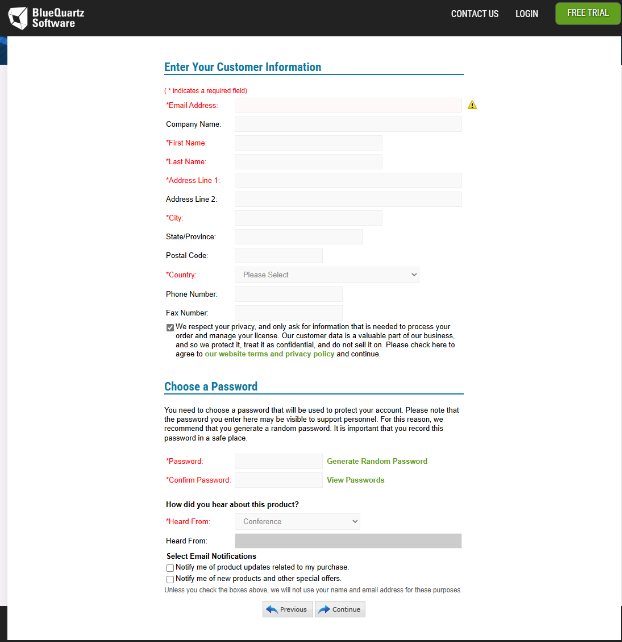
Figure 12.10 BlueQuartz Shopping Cart Customer Information
On the next page, confirm that all of your information is correct and press “Place Order”.
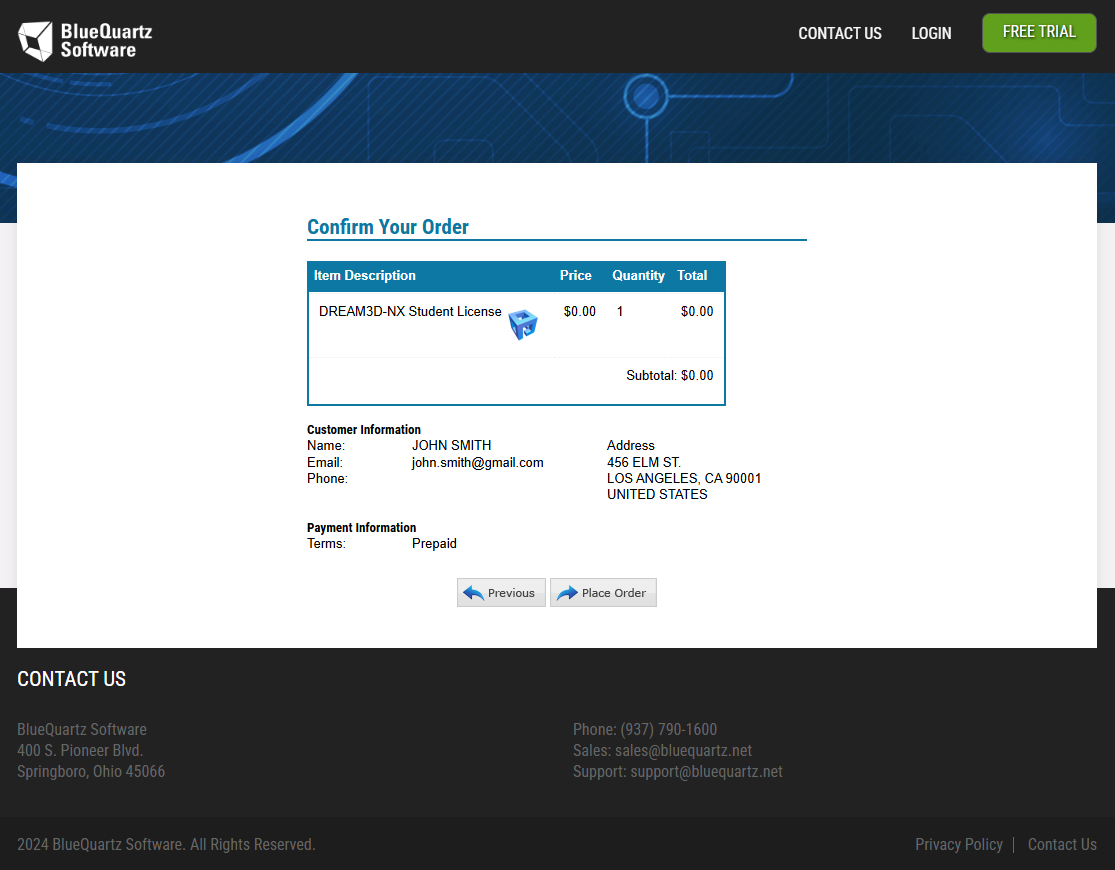
Figure 12.11 BlueQuartz Shopping Cart Confirm Order
This should bring up the final “Invoice” screen. This invoice will also be emailed to you. Make sure you save the “License ID” and “License Activation Password” fields for the following steps.

Figure 12.12 BlueQuartz DREAM3D-NX Student License Invoice
Launch DREAM3D-NX and open up the License Information Dialog. (If you don’t have a valid license, this should automatically pop up for you. If you currently have a valid license that is expiring, go to the “Help” menu along the top and select “License Information”.)
In the License dialog, click on the “Activate DREAM3D-NX” radio button.
On this page, enter your “License ID” and “License Activation Password” from your invoice in step 9.
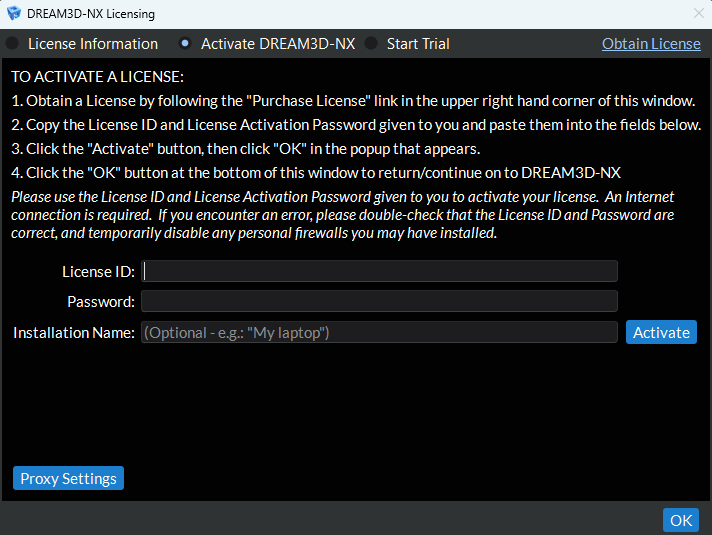
Figure 12.13 License Dialog Activate Page
If the machine you are trying to activate your license on has access to internet you can click the “Activate Online” button to automatically activate your license. Then skip ahead to step 14. If the machine you are trying to activate your license on does not have access to internet you can click the “Activate Manually” button.
In the dialog that pops up click the ‘Save Activation Request File’ button in the top right hand corner to save the activation request html file.
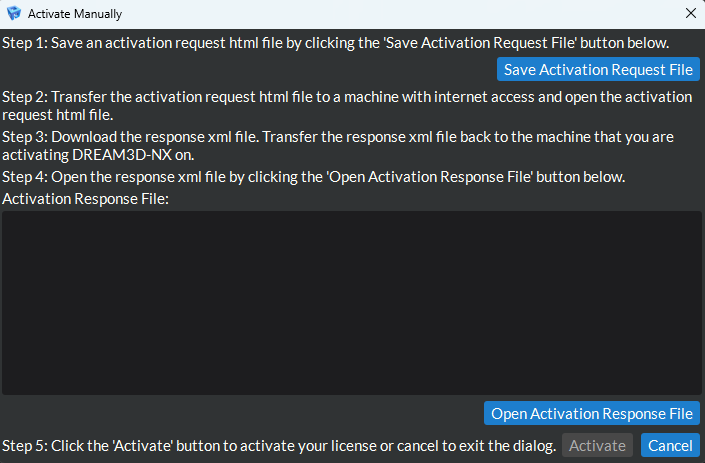
Figure 12.14 Activate Manually Save Request
Transfer the activation request html file to a machine with internet access and open up the activation request html file in a web browser.
On the web page that is pulled up, click the ‘Download’ button to save the activation response xml file.
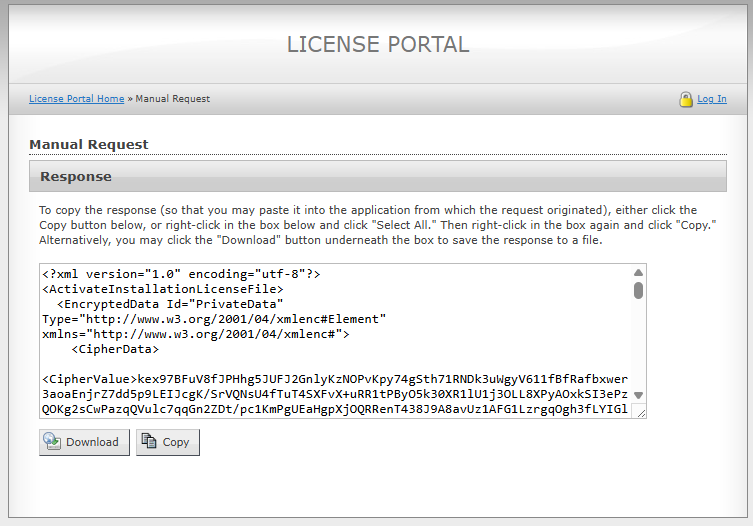
Figure 12.15 Activate Manually Request Url
Transfer the activation response xml file back to the machine that you are activating your DREAM3D-NX license on.
Open the activation response xml file by clicking on the ‘Open Activation Response File’ button in the bottom right hand corner of the ‘Activate Manually Dialog’.
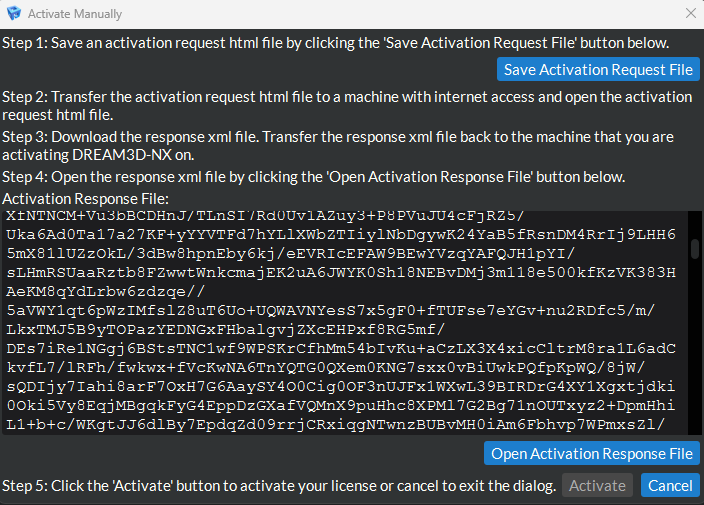
Figure 12.16 Activate Manually Open Response
Click the ‘Activate’ button in the bottom right hand corner of the ‘Activate Manually Dialog’ to activate your license.
If everything is correct, you will get a pop up like this. Press “OK” to return to the license dialog.

Figure 12.17 Activation Successful Dialog
Your license dialog should now look something like this. From here, click the “OK” button to return/continue on to DREAM3D-NX.
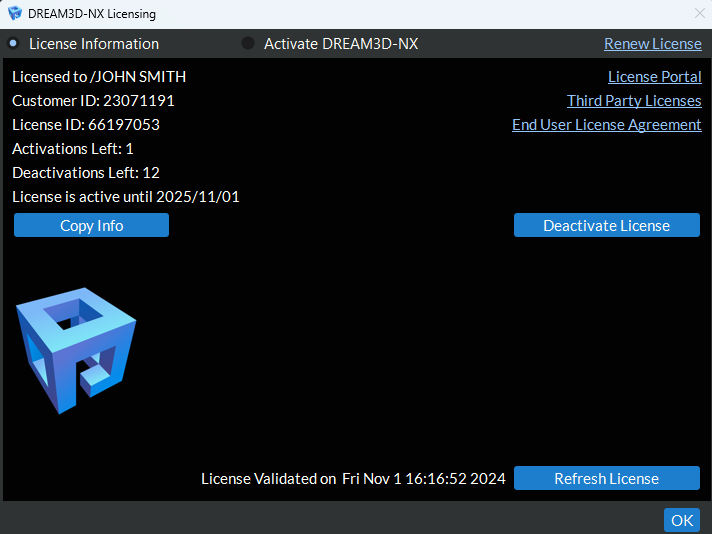
Figure 12.18 License Information License Activated
Obtain and Activate a Standard License
To obtain a standard DREAM3D-NX license you will need to purchase it from the BlueQuartz store front. Click on the DREAM3D-NX product from the store front.
Figure 12.19 BlueQuartz Store Front
From here click on the “Standard License” option.
Figure 12.20 BlueQuartz Store Front DREAM3D-NX
On the next page, click the “Order Now!” button.
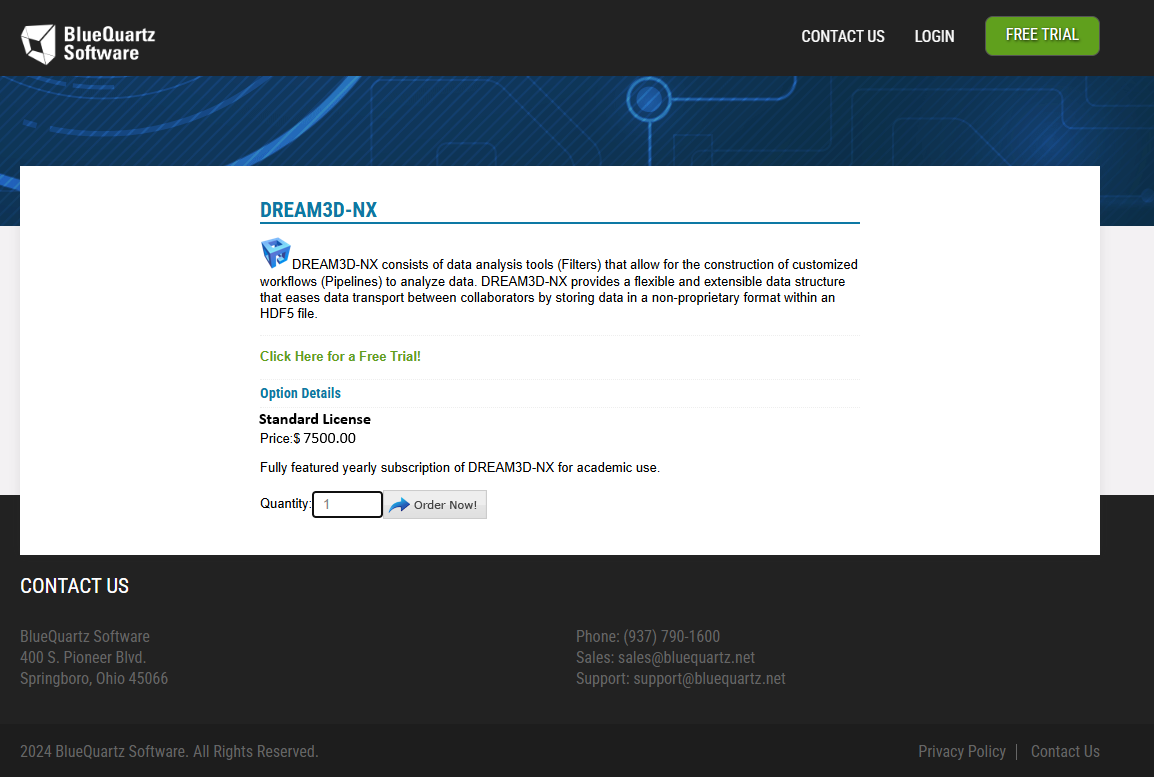
Figure 12.21 BlueQuartz Store Front Standard License
On the next page, read the EULA and check the box and the bottom to agree to the EULA. Click the “I Agree” button.
On the next page, press the “Checkout” button.
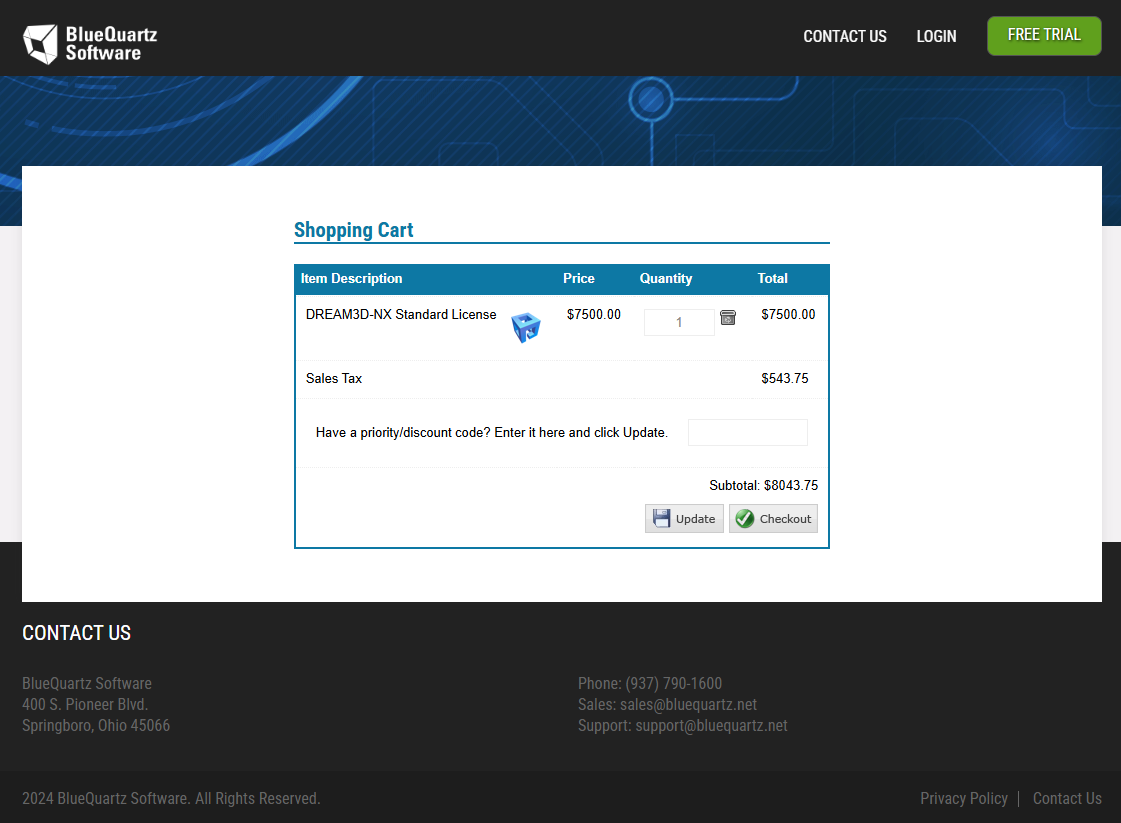
Figure 12.22 BlueQuartz Store Front Standard License Shopping Cart
On the next page, fill in your email address (required) (and password if you are a returning customer) and click “Continue” or “Log in”.
Figure 12.23 BlueQuartz Store Front Shopping Cart Log in
On the next page, fill out the required fields (in red) and click “Continue”.
Figure 12.24 BlueQuartz Shopping Cart Customer Information
On the next page, confirm that all of your information is correct and press “Proceed to Payment”.
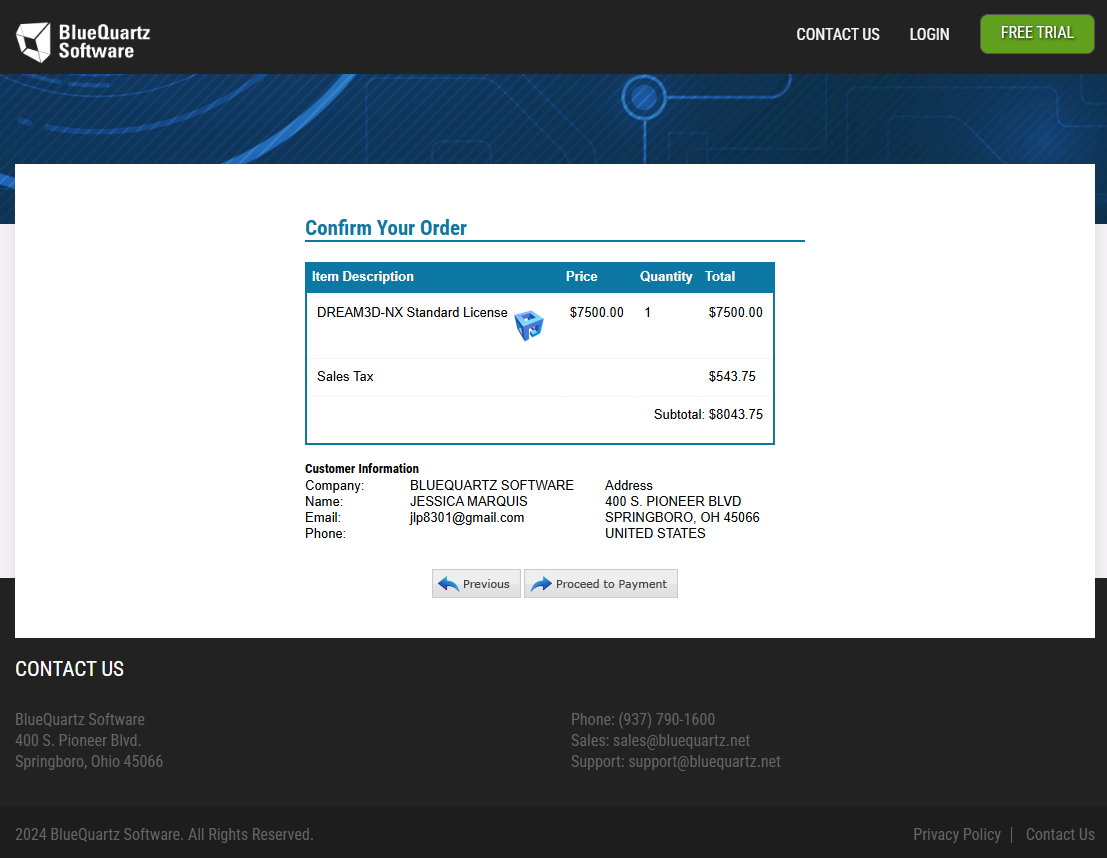
Figure 12.25 BlueQuartz Shopping Cart Confirm Order
This should redirect you to PayPal where you will enter in your payment information. (No PayPal account is required.)
Once you’ve entered your payment information via PayPal, this should bring up the final “Invoice” screen. This invoice will also be emailed to you. Make sure you save the “License ID” and “License Activation Password” fields for the following steps.
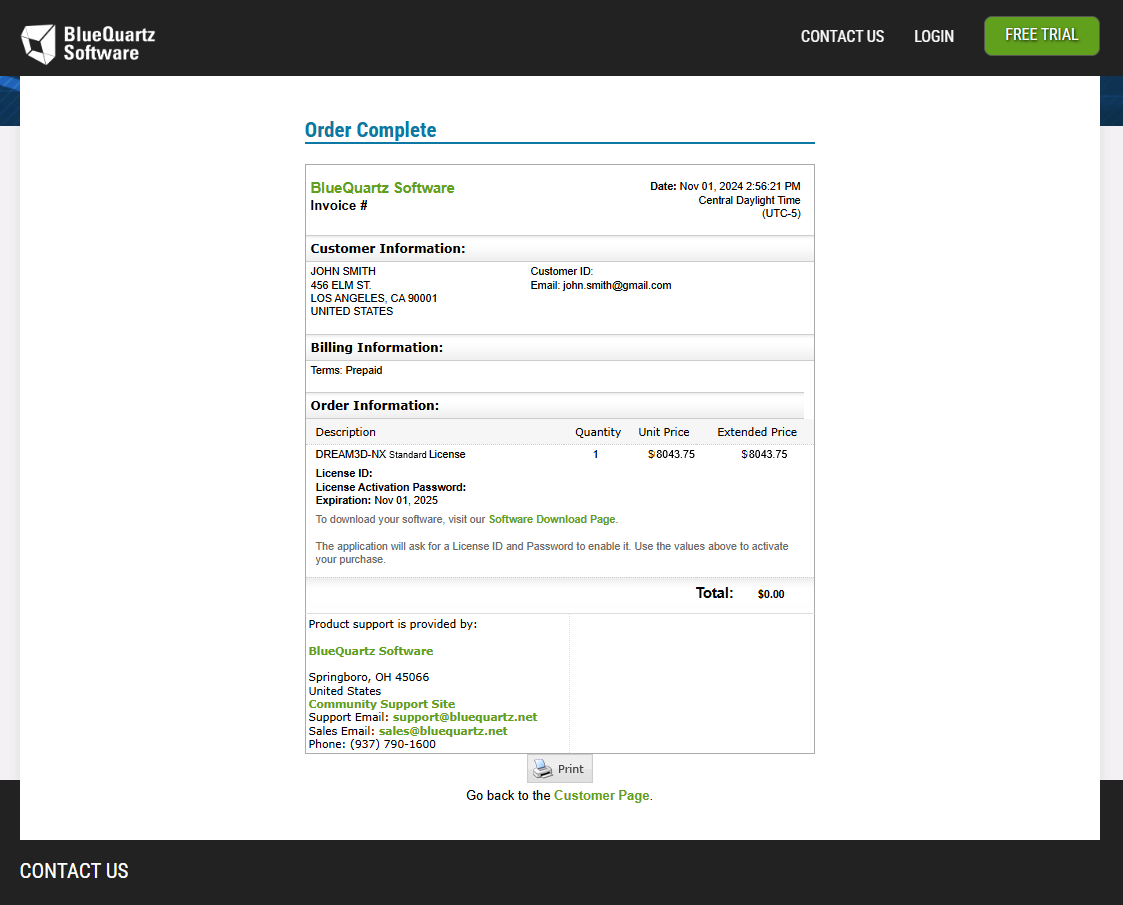
Figure 12.26 BlueQuartz DREAM3D-NX Standard License Invoice
Launch DREAM3D-NX and open up the License Information Dialog. (If you don’t have a valid license, this should automatically pop up for you. If you currently have a valid license that is expiring, go to the “Help” menu along the top and select “License Information”.)
In the License dialog, click on the “Activate DREAM3D-NX” radio button.
On this page, enter your “License ID” and “License Activation Password” from your invoice in step 10. When ready, click the “Activate” button.
Figure 12.27 License Dialog Activate Page
If the machine you are trying to activate your license on has access to internet you can click the “Activate Online” button to automatically activate your license. Then skip ahead to step 15. If the machine you are trying to activate your license on does not have access to internet you can click the “Activate Manually” button.
In the dialog that pops up click the ‘Save Activation Request File’ button in the top right hand corner to save the activation request html file.
Figure 12.28 Activate Manually Save Request
Transfer the activation request html file to a machine with internet access and open up the activation request html file in a web browser.
On the web page that is pulled up, click the ‘Download’ button to save the activation response xml file.
Figure 12.29 Activate Manually Request Url
Transfer the activation response xml file back to the machine that you are activating your DREAM3D-NX license on.
Open the activation response xml file by clicking on the ‘Open Activation Response File’ button in the bottom right hand corner of the ‘Activate Manually Dialog’.
Figure 12.30 Activate Manually Open Response
Click the ‘Activate’ button in the bottom right hand corner of the ‘Activate Manually Dialog’ to activate your license.
If everything is correct, you will get a pop up like this. Press “OK” to return to the license dialog.
Figure 12.31 Activation Successful Dialog
Your license dialog should now look something like this. From here, click the “OK” button to return/continue on to DREAM3D-NX.
Figure 12.32 License Information License Activated