7.5. Volume Rendering Controls
In this section we describe the volume rendering and lighting controls available in the Quad View Controls Panel for configuring how the 3D volume in Window 1 is displayed.
The Controls Panel includes two collapsible sections devoted to the 3D volume rendering in Window 1: Volume Rendering and Volume Lighting. These controls adjust the rendering mode, shading, ambient occlusion, and global illumination behavior of the volume, and have no effect on the three 2D slice views in Windows 2–4.
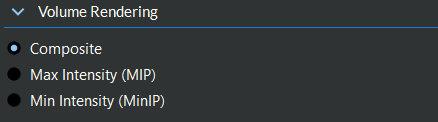
Figure 7.24 Volume Rendering Section in the Controls Panel
Volume Rendering Mode
The Volume Rendering section provides three radio buttons for selecting the blend mode used when compositing voxels along each viewing ray in Window 1:
Composite (default): Blends voxel colors and opacities along each ray, producing a translucent volume rendering. Opacity is controlled by the opacity transfer function in the color mapping editor.
Max Intensity (MIP): Renders the brightest voxel along each ray. This mode is useful for highlighting high-intensity structures such as bright vessels or dense materials.
Min Intensity (MinIP): Renders the darkest voxel along each ray. This mode is useful for highlighting air-filled or low-density structures.
Note
These blend modes only affect the 3D volume in Window 1. The 2D slice views in Windows 2–4 have their own thick slab blend modes described in Color Mapping Controls.
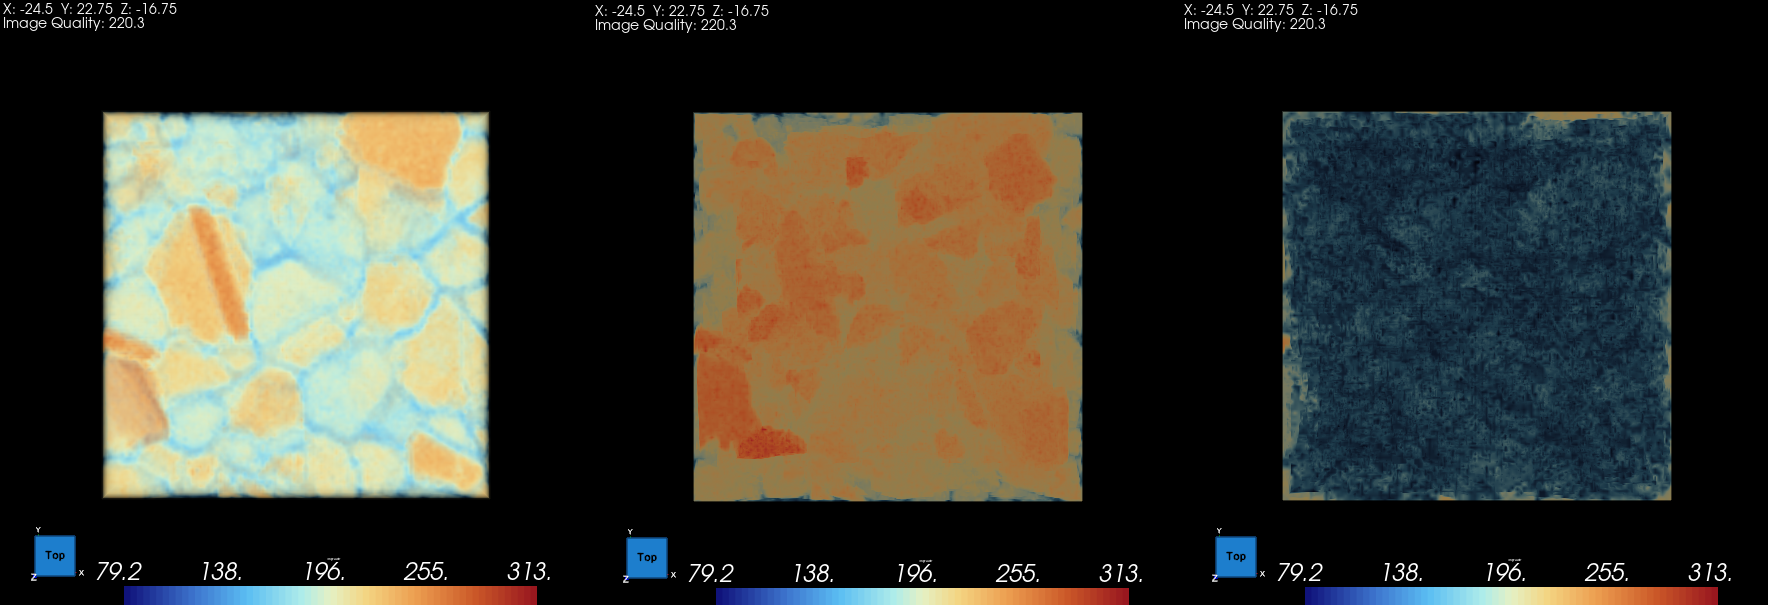
Figure 7.25 Comparison of Composite (left), MIP (center), and MinIP (right) blend modes on the same dataset.
Volume Lighting
The Volume Lighting section provides controls for shading, ambient occlusion, light tracking, and global illumination. These controls enhance depth perception and visual quality in the 3D volume rendering.
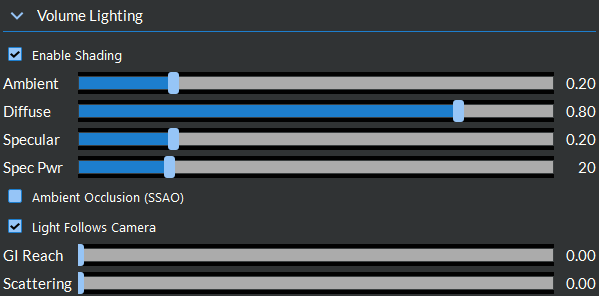
Figure 7.26 Volume Lighting Section in the Controls Panel
Enable Shading
The Enable Shading checkbox turns on Phong shading for the volume in Window 1. When enabled, VTK computes gradient normals from the volume data and applies ambient, diffuse, and specular lighting to create a sense of surface shape and depth. The four lighting coefficient sliders below become active:
Ambient (0.0–1.0): Controls the base illumination level that is applied uniformly regardless of surface orientation or light direction. Higher values brighten the entire volume.
Diffuse (0.0–1.0): Controls the intensity of directional diffuse reflection (light scattered equally in all directions from the surface). This is the primary contributor to perceived shape.
Specular (0.0–1.0): Controls the intensity of specular highlights (mirror-like reflections concentrated around the reflection direction).
Spec Pwr (1–100): Controls the specular power (shininess). Higher values produce a tighter, more mirror-like highlight; lower values produce a broader, softer sheen.
Note
Enabling shading causes VTK to compute gradient normals for the volume, which may introduce a brief pause the first time shading is turned on for a newly loaded dataset.
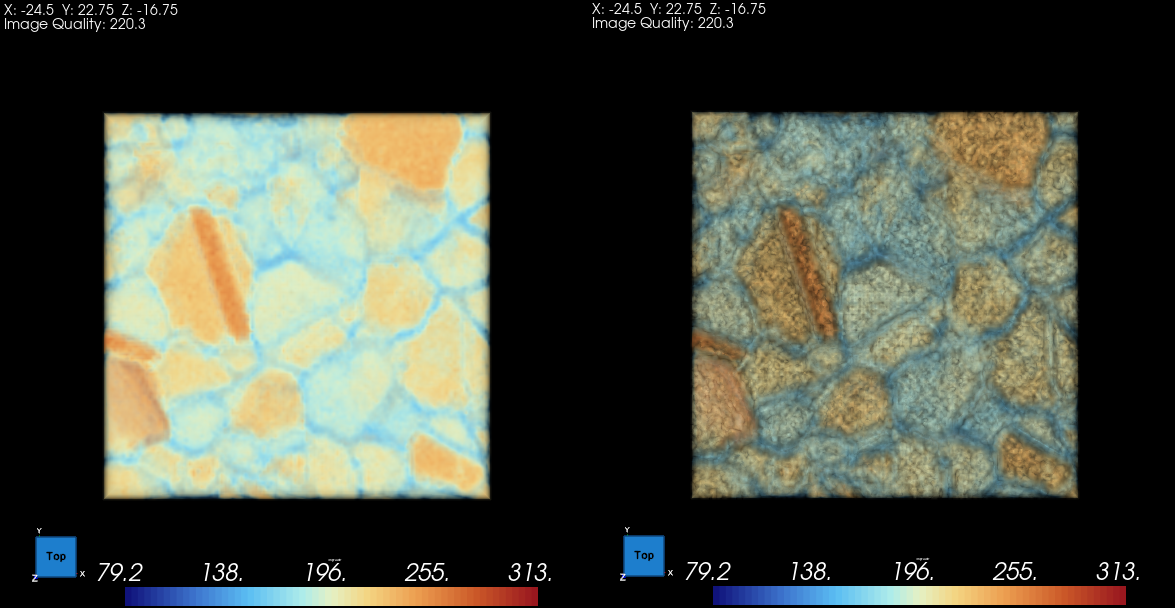
Figure 7.27 Volume rendering without shading (left) and with shading enabled (right). Shading reveals surface details that are not visible in the unlit rendering.
Ambient Occlusion (SSAO)
The Ambient Occlusion (SSAO) checkbox enables Screen Space Ambient Occlusion on the 3D renderer. SSAO darkens crevices, contact areas, and concavities to improve depth perception and add visual realism to the volume.
Important
The SSAO checkbox is only enabled when Enable Shading is checked. Shading must be active because SSAO requires gradient normal information that VTK only computes when shading is on.
Light Follows Camera
The Light Follows Camera checkbox (checked by default) controls whether the shading light source tracks the camera position. When enabled, the lit side of the volume always faces the viewer regardless of the current rotation angle, providing consistent depth perception. When unchecked, the light is fixed in world space and the volume may appear darker or lighter depending on the viewing direction.
Global Illumination
Two sliders at the bottom of the Volume Lighting section control volumetric global illumination, which simulates light scattering within the volume for added realism:
GI Reach (0.0–1.0): Controls how far scattered light propagates through the volume. A value of 0 disables global illumination entirely. Higher values increase the range of light scattering, adding a soft glow that reveals internal structures.
Scattering (0.0–2.0): Controls the blending weight of the scattered light into the final image. This parameter has no visible effect when GI Reach is 0.
Note
Global illumination adds GPU cost that scales with the GI Reach value. For very large datasets, use conservative values (0.1–0.3) to balance visual quality against interactive performance.
State Persistence
All volume rendering and lighting settings are saved and restored automatically when saving and loading Quad View state files. When switching between geometry tabs, each tab remembers its own volume rendering configuration independently.