3.3. Pipeline View

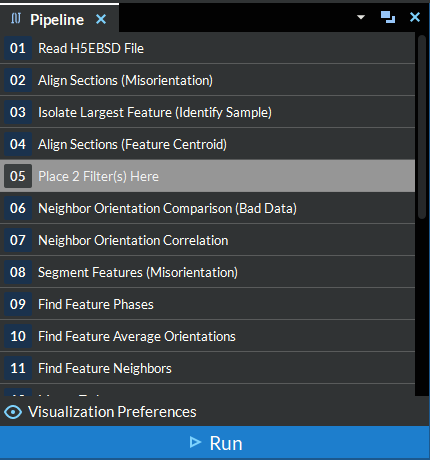
Figure 3.3 Pipeline View
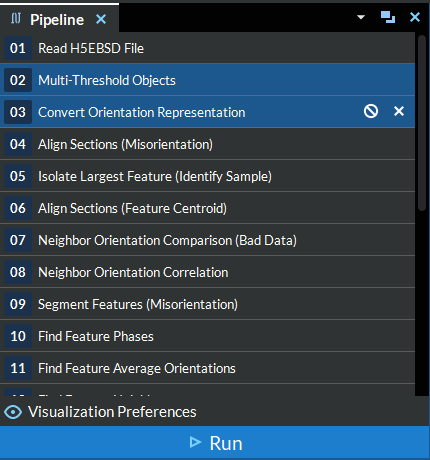
The Pipeline View section displays which Filters are in the current pipeline, and in what order. This section is where the user will construct their Pipeline by double-clicking on a Filter in the Filter List. It is also possible to drag a Filter from Filter List and drop it into the Pipeline View. Filters in this section can be rearranged into different orders via dragging and dropping the Filter objects. More information on creating Pipelines can be found in the Creating a Pipeline section.
Preflights & Errors
Pipeline With Errors |
Pipeline With Warnings |
|---|---|
|
|
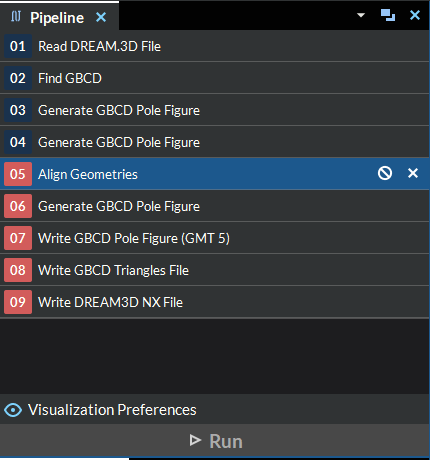
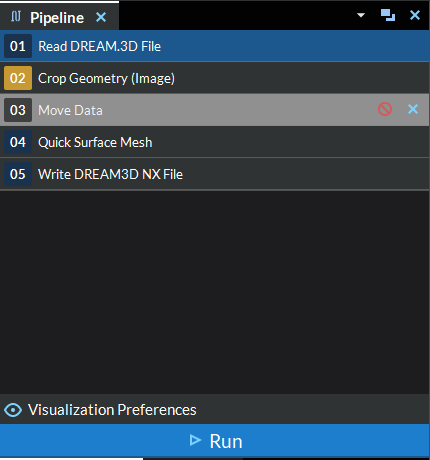
As the user updates the Pipeline, a process called Preflight will be executed to make sure that the Pipeline will have all the necessary data available during execution. If a Filter object in the Pipeline has an error, the square with the number denoting the filters position in the Pipeline will be colored red. Likewise, if a Filter in the Pipeline has a warning, the square will be colored yellow. If this is the case, check the Pipeline Error Table for an explanation of the error.
Interacting With Filters & Pipelines
A Filter can be selected by single left-clicking. Multiple Filters can be selected by shift-clicking and Ctrl/Cmd clicking. Filters can be removed from the Pipeline by hovering over the Filter object and clicking the X icon. If you don’t want to delete a filter from the pipeline but do want to exclude it from the current pipeline run, select the icon of a circle with a line through it next to the X icon. This will disable the filter from run execution, but won’t remove it from the pipeline and lose the parameters or comments. To tell if a Filter has been disabled, look for greyed out filters in the Pipeline or check the Filter Pop Up Menu for the Filter in question. The entire Pipeline View can be cleared by either choosing Clear Pipeline from the Pipeline menu, or right-clicking in an empty area of the Pipeline View to make a contextual menu appear with the Clear Pipeline option. You can undo or redo any of the last several add/remove filter(s) actions by using the Ctrl/Cmd + Z or Ctrl/Cmd + Y keyboard shortcuts respectively or by going to the Edit Menu and clicking Undo or Redo. After solving any Preflight errors and creating a satisfactory Pipeline, click the Run button to start running the pipeline.
Filter Pop Up Menu

Figure 3.4 Filter Pop Up Menu
Right-clicking on a Filter opens a menu that allows the help for that Filter to be displayed by clicking Filter Help. The Enable button will remove the Filter from the pipeline execution if it is unchecked (disabled), this will be reflected in the pipeline by greying it out and showing the Enable button as unchecked in the menu. The aptly named Error Handling sub menu allows you to set the output location to display errors to.
Cutting, Copying, and Pasting Filters
Filters can be cut, copied, and pasted by using their right-click menus or the universal keyboard shortcuts (Ctrl+X, Ctrl+C, Ctrl+V). Additionally, Filters can be copied by pressing Alt and dragging them.
Note: Copying Filters puts them onto the system clipboard as a pipeline in JSON format. Therefore, it is possible to create a sub-pipeline of a pipeline currently loaded in DREAM3D-NX by copying filters to the clipboard in DREAM3D-NX and then pasting into any text editor.
Selecting |
Dragging |
Pasting |
|---|---|---|
|
|
|
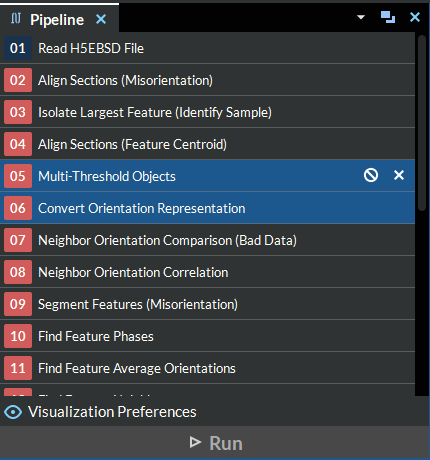
In the example above, filters 2 and 3 are selected and then copied to pipeline index 5 by holding down the Alt key and dragging.
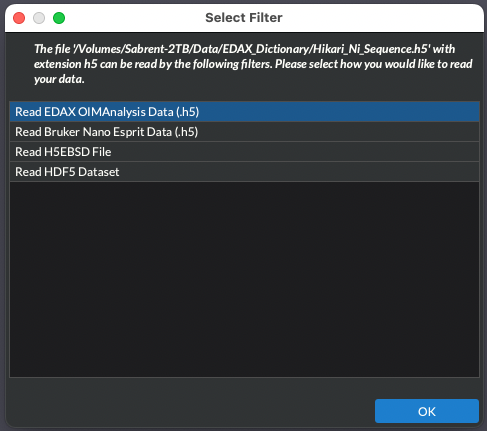
Import Filter from Dragging and Dropping Any File
DREAM3D-NX can automatically add a compatible read filter for any recognized file type that is dragged and dropped into the Pipeline View area. When a file type that is not a pipeline type file (*.d3dpipeline, *.d3dworkflow, *.json, or *.dream3d) is dragged and dropped into the Pipeline View area, a dialog will pop up with a list of available filters that are able to read that file type. Once you select the filter you would like to use with your file, that filter will automatically be added to the pipeline with the file saved to the input parameter value. If the filter selected has more than one input parameter that is compatible with the file, the file will be stored as the value for the first compatible parameter found.